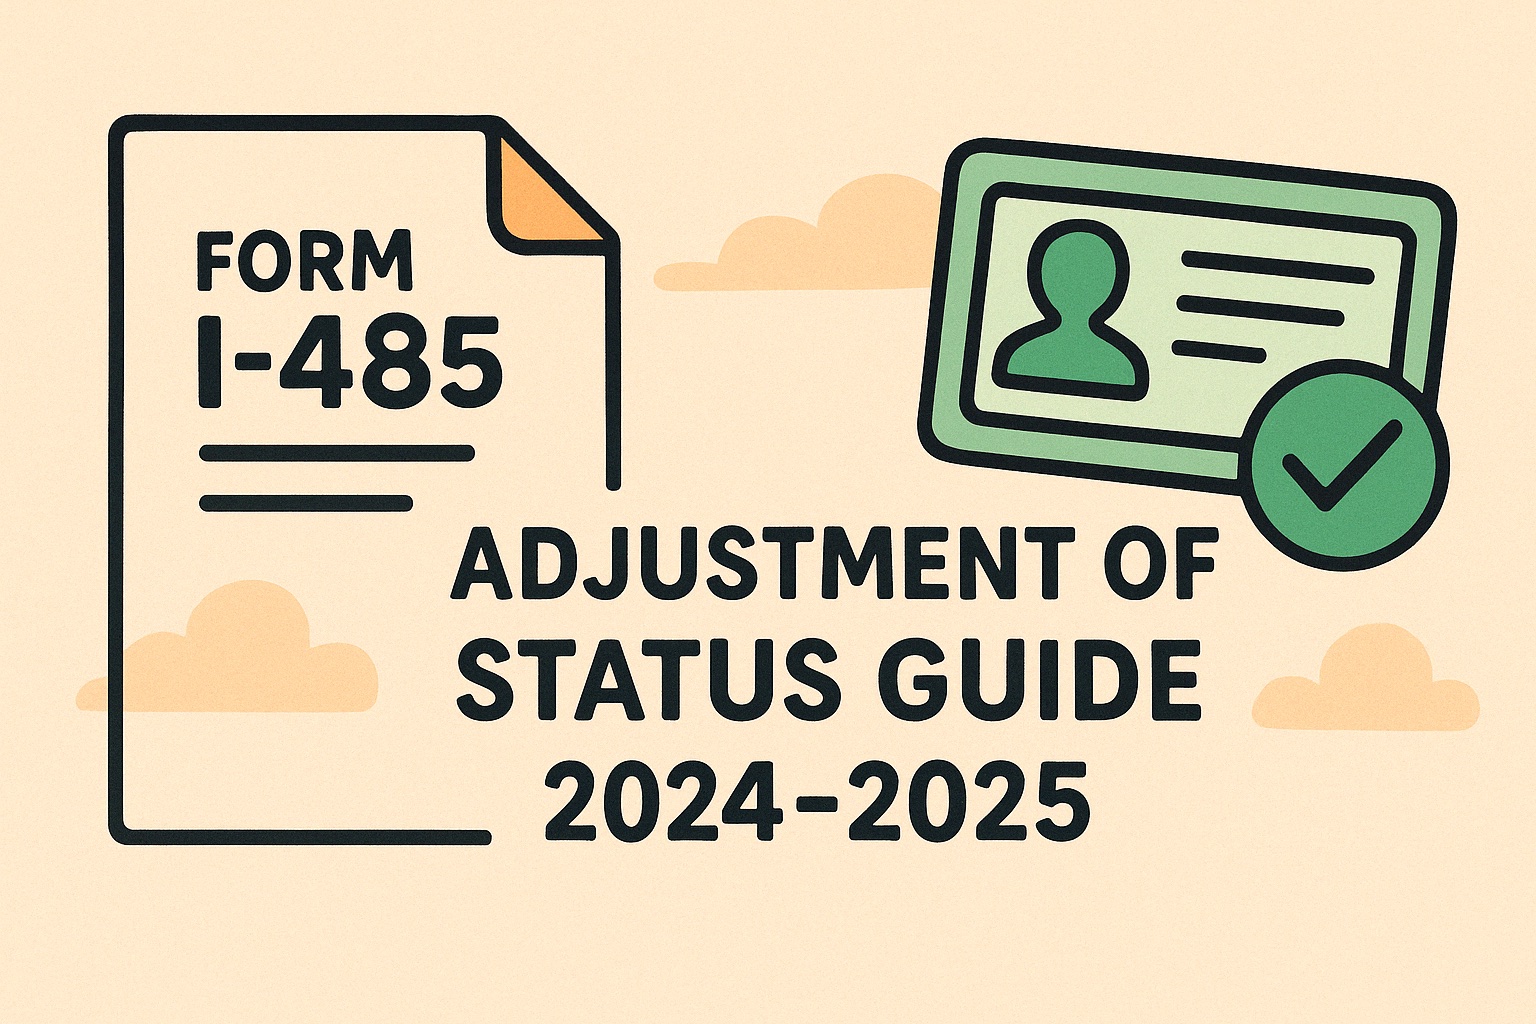
Form I-485: Adjustment of Status Guide (2024-2025)
7 key steps for family-based green card applicants and the mistakes to avoid.
✅ STEP 1: Check If You’re Eligible
Before filing Form I-485, make sure you meet the eligibility criteria for adjustment of status. Most family-based applicants need an approved or concurrently filed Form I-130. If you are not an immediate relative of a U.S. citizen, you must wait until your priority date becomes current according to the Visa Bulletin.
⚠️ Update: Always check the latest Visa Bulletin if you’re not an immediate relative.
📝 STEP 2: Complete I-485 and Gather Documents
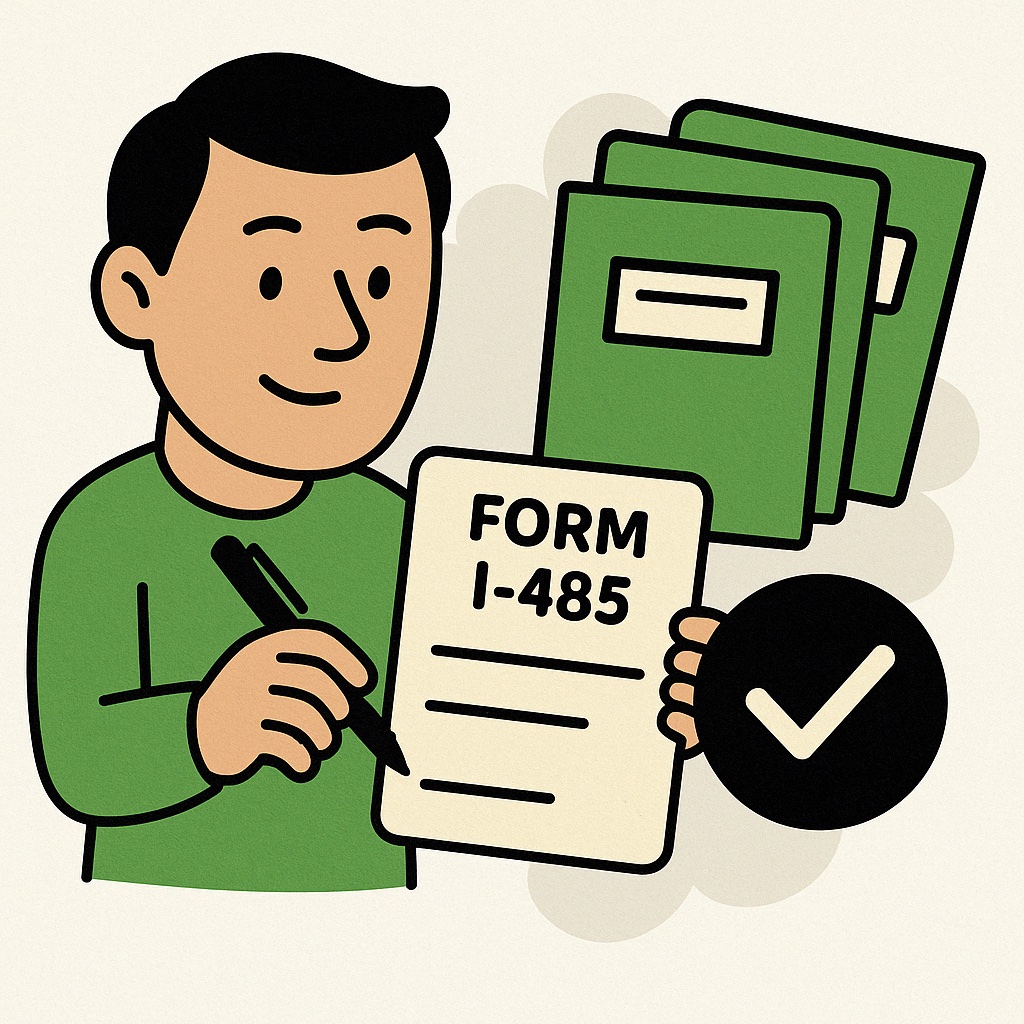
Use the most recent version of Form I-485 from the USCIS website and fill it out carefully. Common documents to include are your passport, I-94 record, U.S. visa page, Form I-130 receipt or approval, and two passport-style photos. Be sure to include certified translations for any documents not in English.
⚠️ Common Mistake: Using outdated forms or forgetting to sign can lead to rejection. Use only the current version from the USCIS website.
💵 STEP 3: Attach Required Supporting Forms
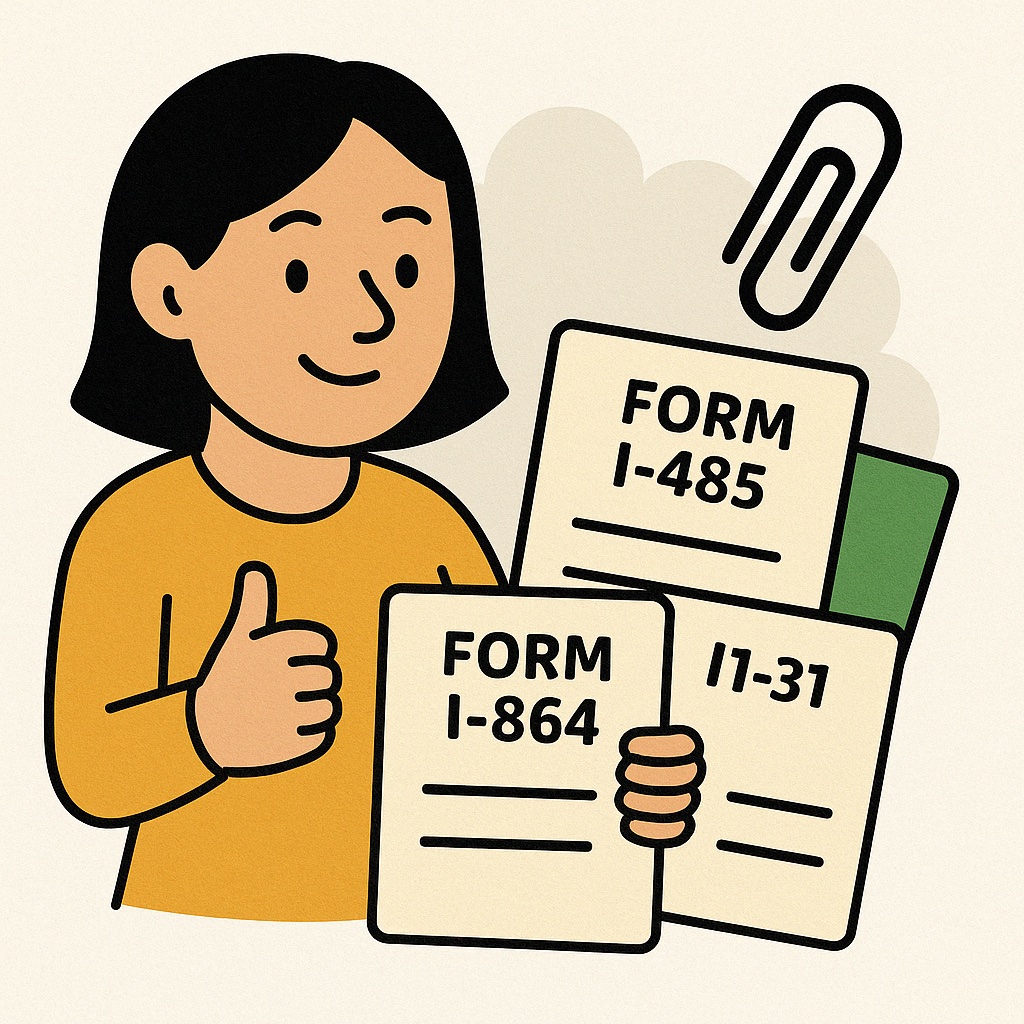
Include Form I-864 (Affidavit of Support) from your sponsoring relative, along with financial evidence like tax returns and pay stubs. If your main sponsor (such as a spouse) doesn’t meet the income requirements, you can add a **joint sponsor**—this can be a friend, family member, or even someone unrelated who is willing to take legal responsibility for supporting the immigrant. Each sponsor must file a separate I-864 and provide their financial documents.
You can also submit Form I-765 for a work permit and Form I-131 for travel authorization at no extra cost. These help you work and travel while waiting for your green card.
⚠️ Update: Form I-864W has been discontinued. Exemptions are now handled directly on the I-485 form.
👨⚕️ STEP 4: Get a Sealed Medical Exam
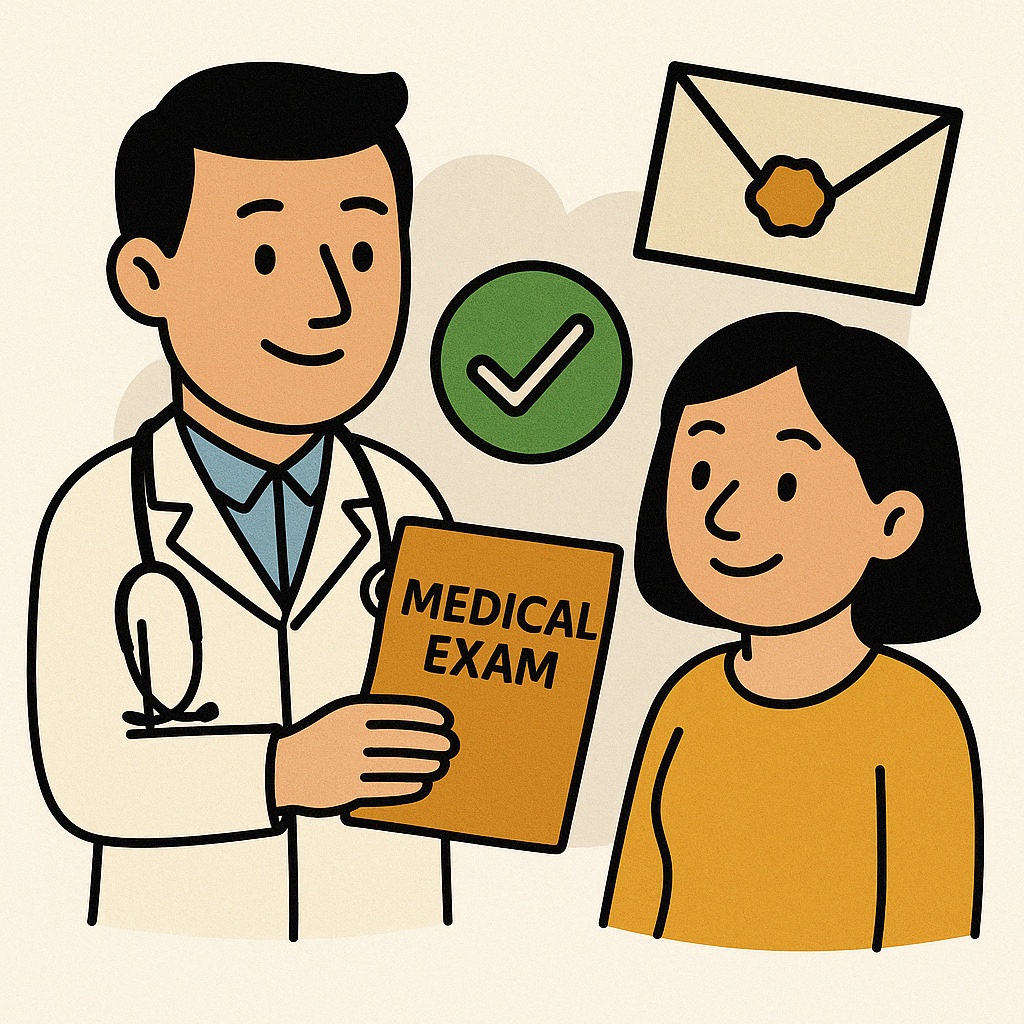
You must schedule an immigration medical exam with a USCIS-approved civil surgeon. Once completed, the doctor gives you a sealed Form I-693 envelope to include in your I-485 packet. This proves you meet health and vaccination requirements for permanent residency.
⚠️ New Rule: Submitting I-693 *with* your I-485 is now required. Waiting may lead to rejection.
📬 STEP 5: Mail the Packet to the Right Address
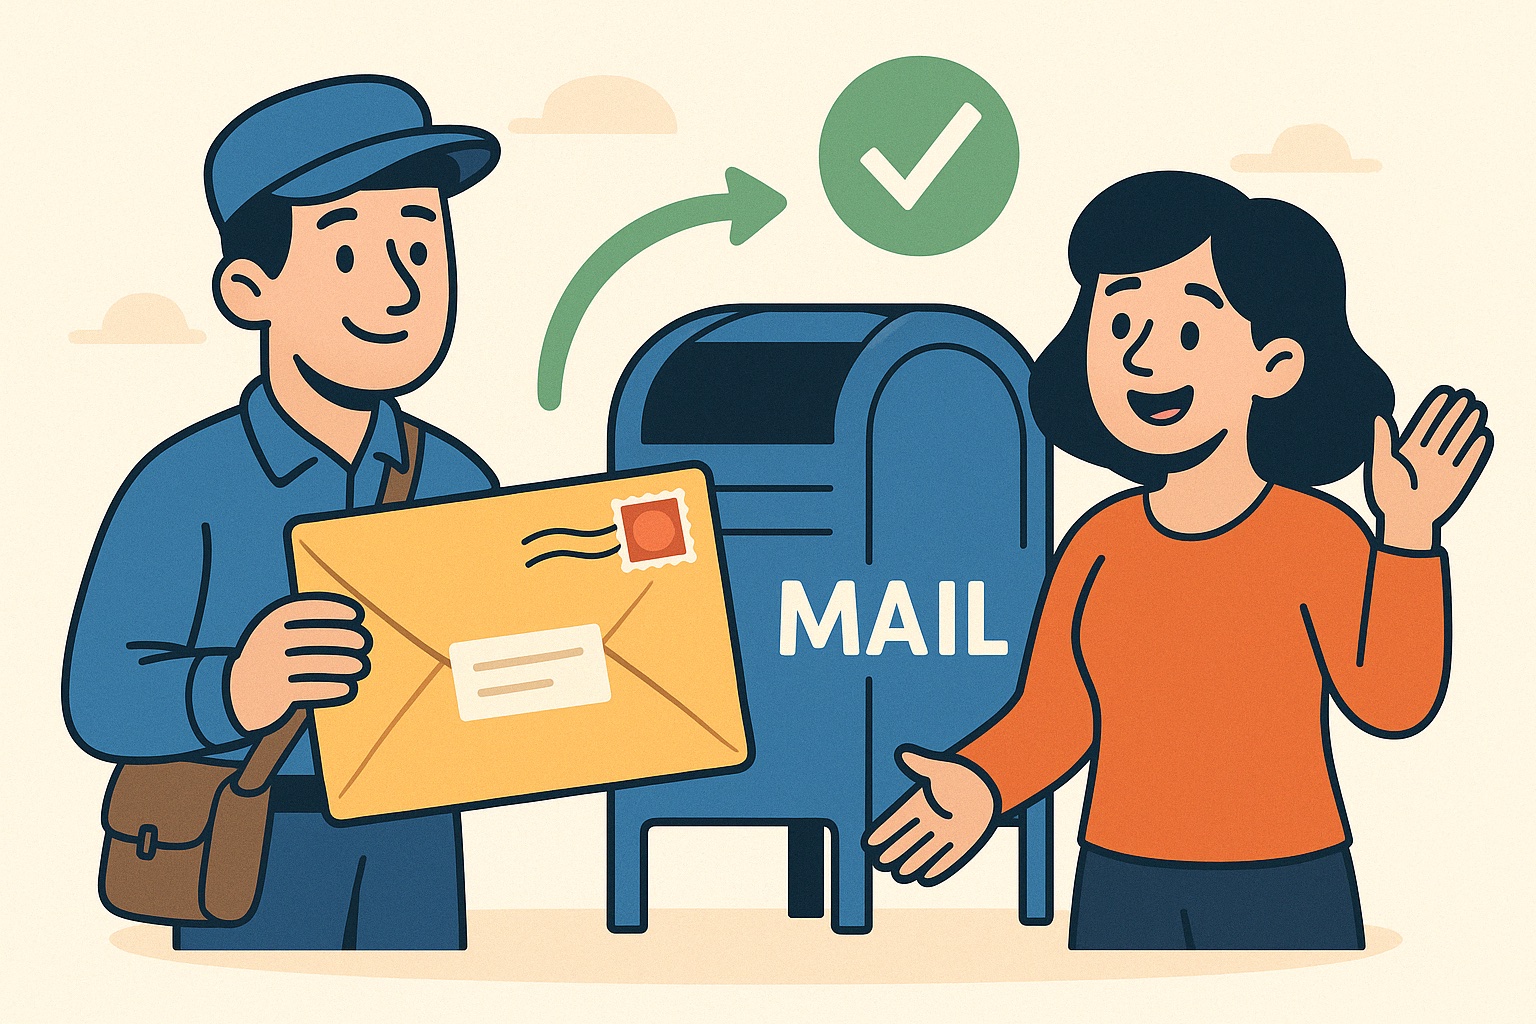
Check USCIS’s website for the correct mailing address, as it varies based on your situation. Include a cover letter, all required forms, your payment, and Form G-1145 for electronic updates. Using a tracked mailing service is recommended so you know exactly when USCIS receives your application.
⚠️ Common Error: Mailing to the wrong address or submitting incorrect fee amounts delays everything.
🧬 STEP 6: Attend Biometrics Appointment
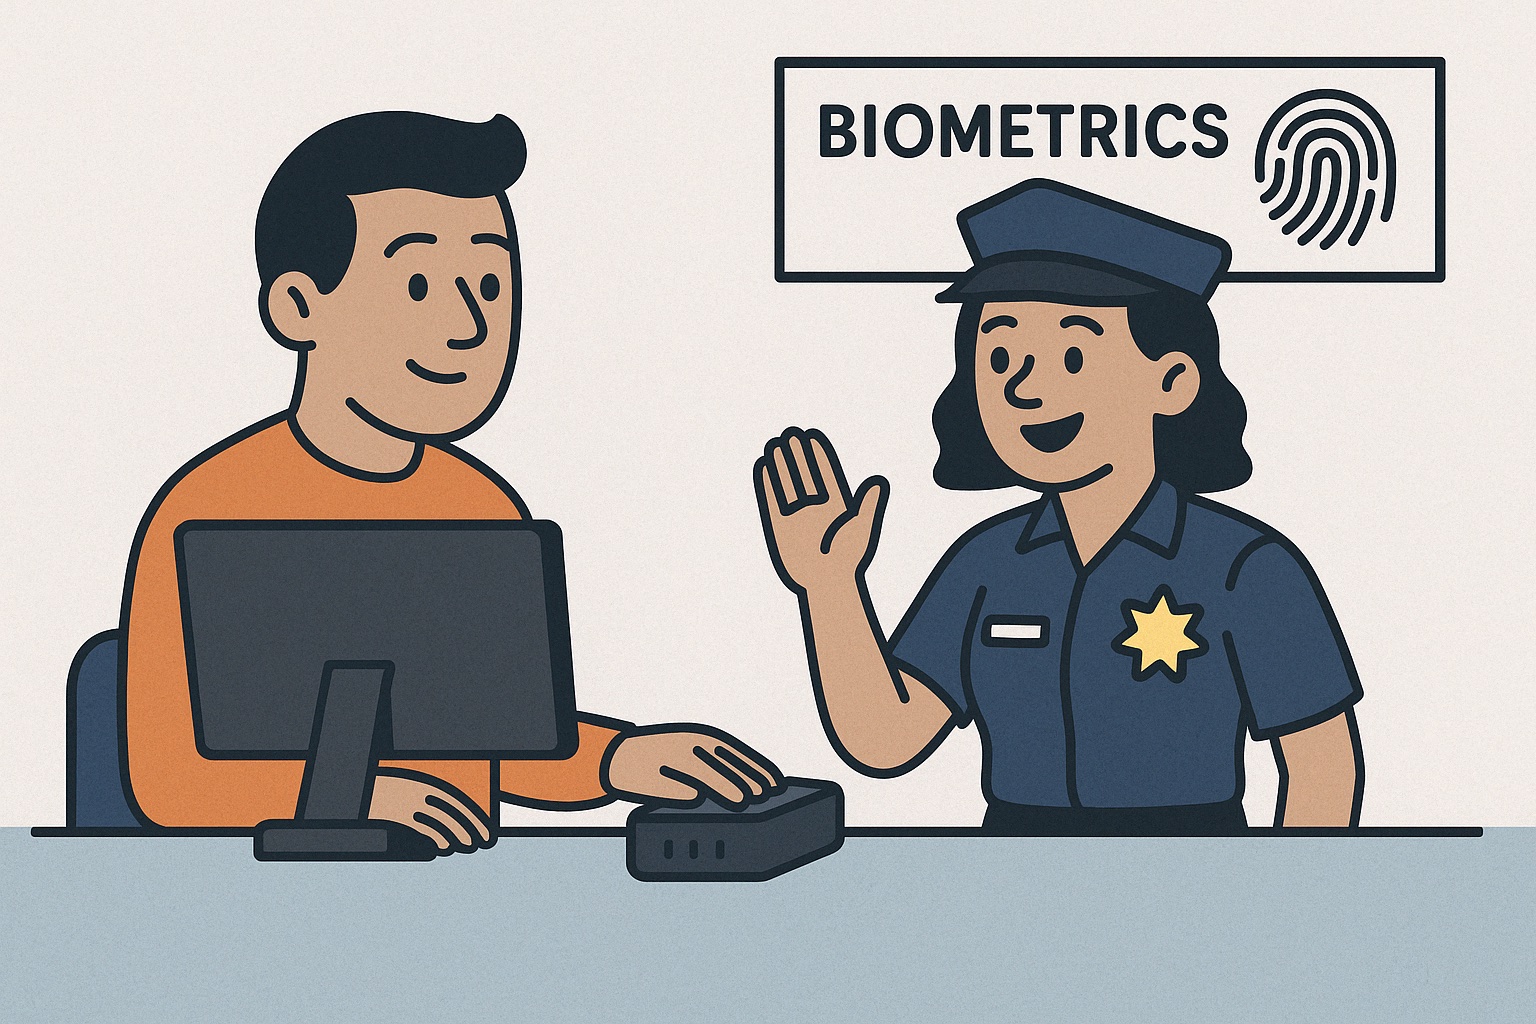
After USCIS receives your application, they will schedule a biometrics appointment at a local center. There, they will take your fingerprints, photograph, and signature for background checks. This step is quick but mandatory for most applicants.
⚠️ Note: In some cases, USCIS may reuse your prior biometrics if available.
🎤 STEP 7: Interview or Decision

USCIS may require an interview to verify your application and relationship details. If required, both you and your sponsor must attend and bring original documents. Some applicants with strong documentation may receive approval without an interview.
⚠️ Update: Some clean cases are now approved without interviews, but this varies by office and case.
⚠️ Disclaimer
Immi EZ is not a law firm and does not provide legal advice. We assist with USCIS form preparation based on publicly available instructions. For legal advice, please consult a licensed attorney.
Message Us on WhatsApp to Get Help